KnotWorx
Bracelets
Bracelets are a good learning project to start on, so that's what I did.
After perusing several tutorials, I developed a different way of making them.
If you're a bike rider, a large 'bracelet' may also be used as a bike clip to keep your pant leg from getting caught in the bike chain.
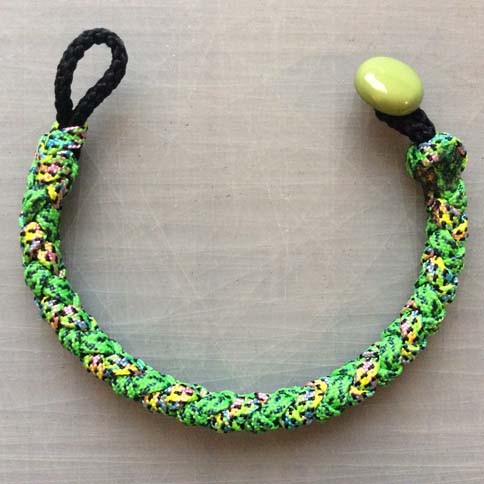
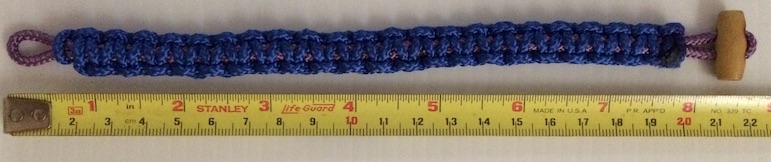
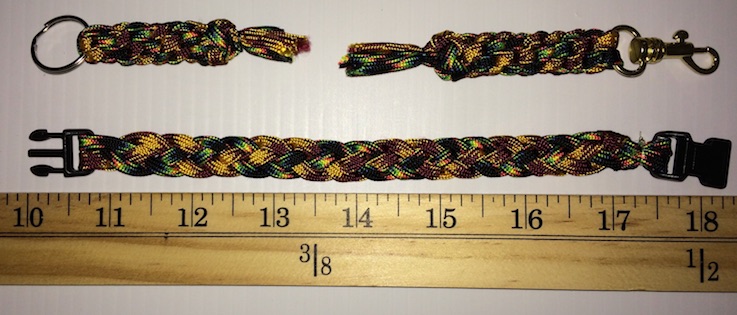
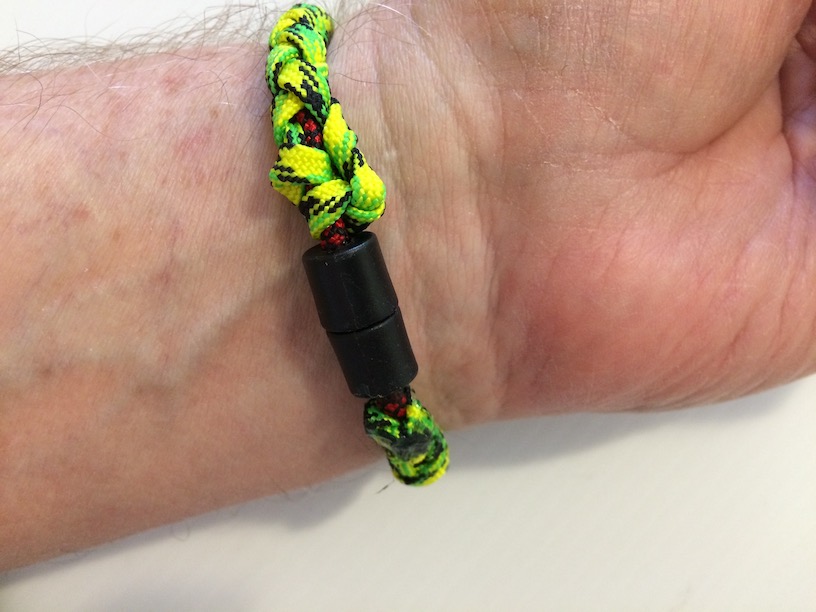
I like the 'loop' and 'button' method. One end of the bracelet has a short loop, and the other end something to put through the loop. Several knots can be used for the 'button' end, but I prefer a small wooden toggle button.
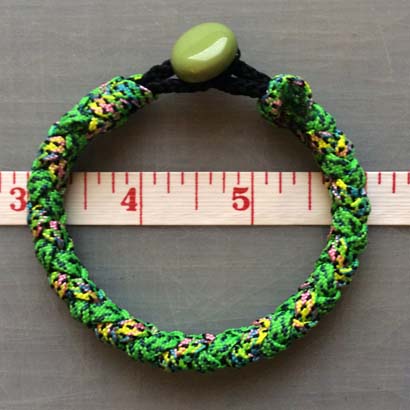
Most bracelets are not adjustable, so they are made to a specific size. For example an adult male such as myself, may have an 8" (20cm) diameter wrist. If the bracelet is too big or too small, it will not fit properly.
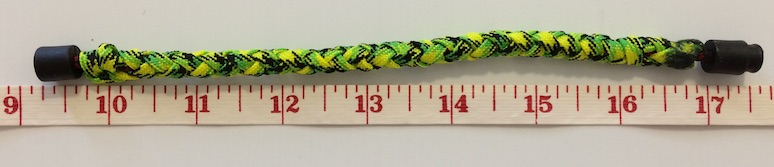
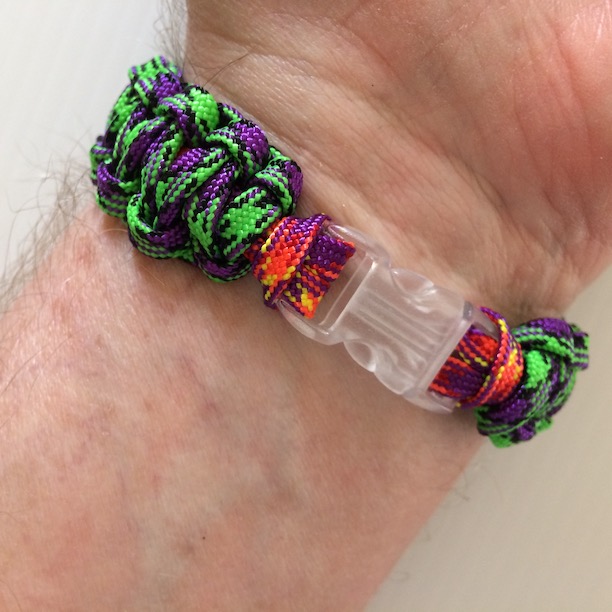
However, a new 'prototype' I've tried is easily put on or off.
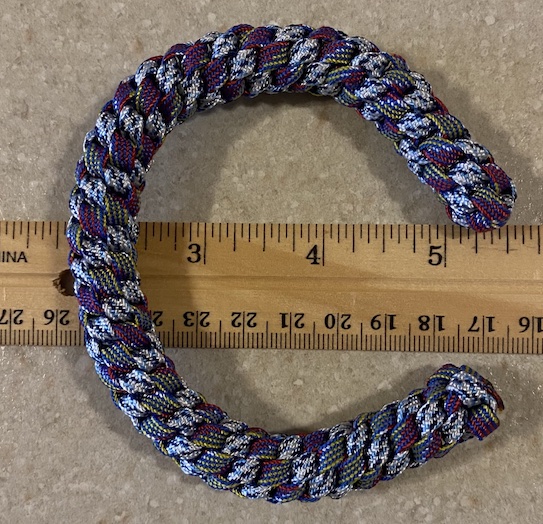
Coreless paracord around an 8" piece of electrical cable (for circuits). No worries about getting a shock - insulation was left on. Since the electrical cord is flexible but fairly stiff, it allows the bracelet to fit various wrists, and is easy to install. (Batteries not included)
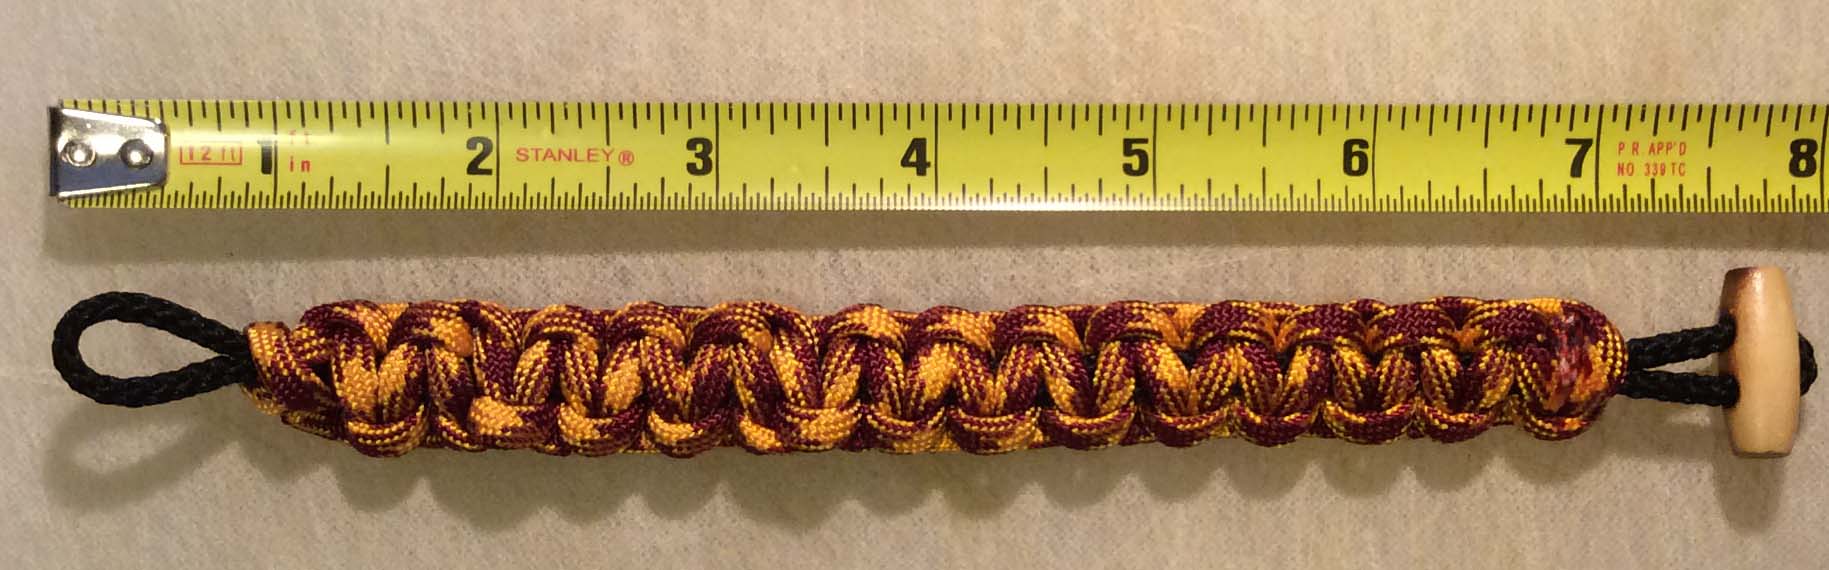


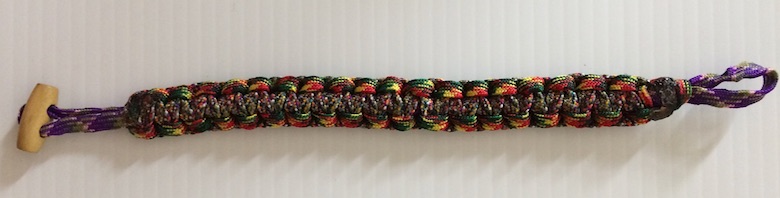
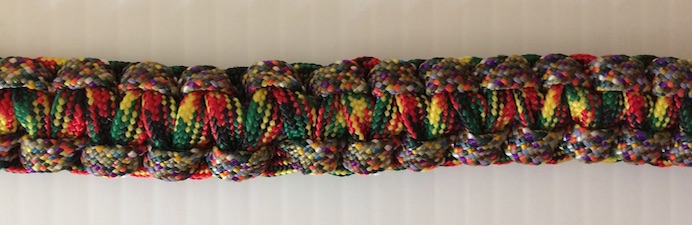
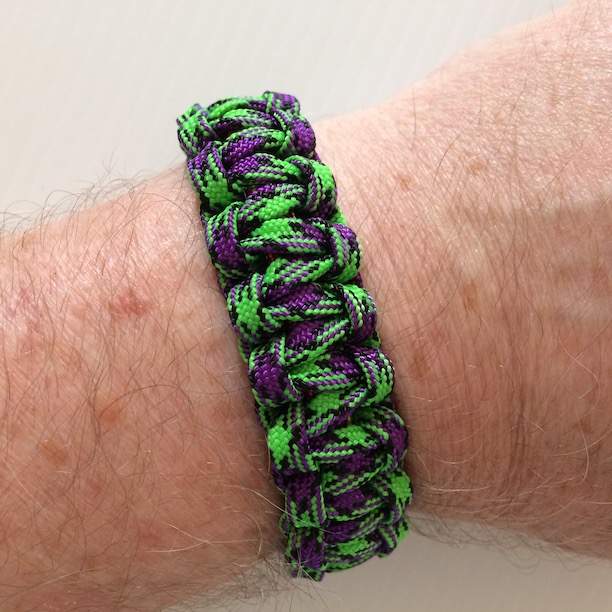
A new development. The inner filler strands have also been stripped out, making a flatter braid.
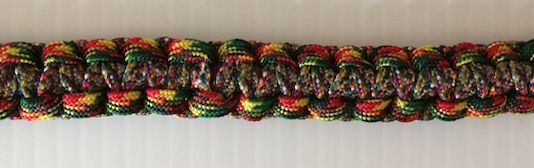
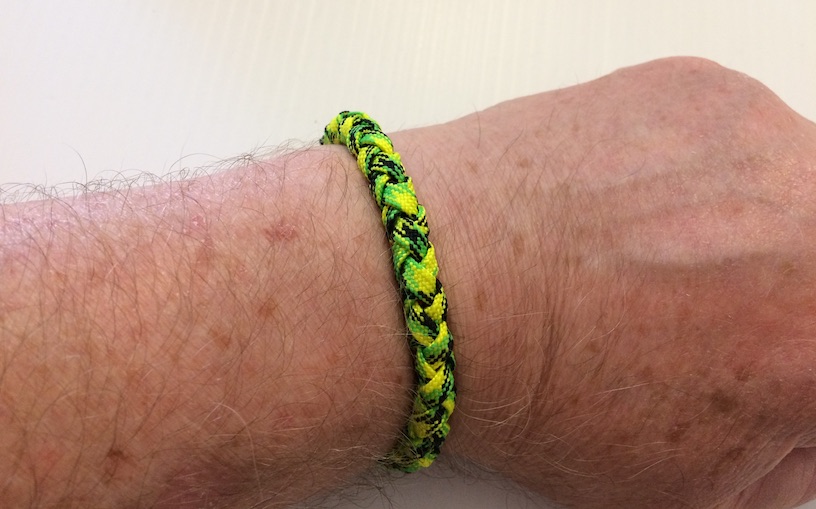
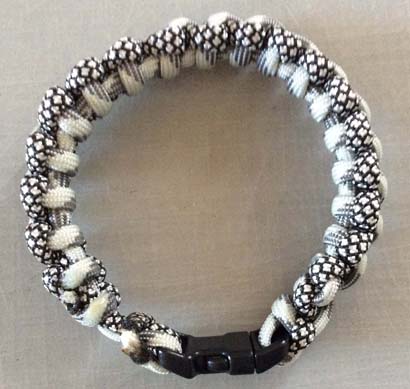
Here is a 4-strand (1 color), round braid example.
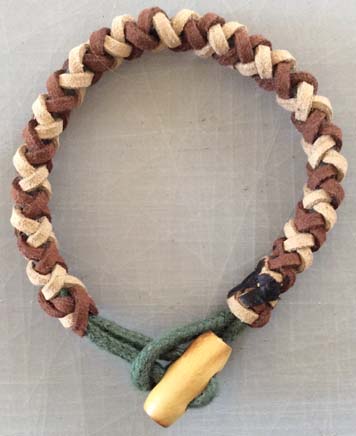
Using different colors for each cord. Once the outer braid is completed, the ends are then woven back through the underside of the braid with a fid. No need to melt and mould.